

Last Updated: November 13, 2026
Quick Summary
Maintain survival gear properly by grouping items by inspection interval, from daily checks to annual deep checks, and ending every check with a clear keep, service, or replace decision. Test batteries under load, rotate food and water before expiration, and log each inspection so nothing is assumed rather than checked.
- Serviceable gear has replaceable batteries and standard fasteners you can reach with common bits.
- A monthly pass takes minutes, while the annual deep check catches the expensive problems.
- Test batteries under load, not at rest, since a voltmeter reading can look fine.
- Store containers on shelves or pallets, not directly on concrete floors that wick moisture.
- Dry everything before sealing it in a container, because trapped moisture speeds corrosion.
Table of Contents
- Building a Survival Gear Kit You Can Actually Maintain
- A Survival Gear List Organized by Inspection Interval
- How to Maintain Survival Gear Properly at Home: The Monthly Routine
- Checking Life Jackets, Flotation Devices, and Immersion Suits
- Testing Radios, Emergency Beacons, and Power Systems
- Water, Food, and Medical Supplies: Expiration Dates and Replacement Criteria
- Storage, Cleaning, and Corrosion Prevention by Gear Type
- Restocking Your Survival Gear Kit at Grayman Trading Company
- Frequently Asked Questions
Building a Survival Gear Kit You Can Actually Maintain
Most emergency kits fail for a boring reason: nobody can keep them up. Gear you can't inspect, test, or repair quietly turns into dead weight.
A common pattern is that people buy a sealed box, stash it in a closet, and never open it again. A survival gear kit only works if you can get into it, check it, and put it back together without a manual.
So before we talk schedules and checklists, let's fix the foundation.
Choosing Gear With Serviceable Parts
Serviceable gear has parts you can replace, open, or clean yourself. A flashlight with a standard battery beats one with a sealed internal cell. A knife with visible screws beats one molded shut.
Look for these traits:
- Replaceable batteries, not built-in cells
- Standard fasteners you can reach with common bits
- Spare parts you can actually buy
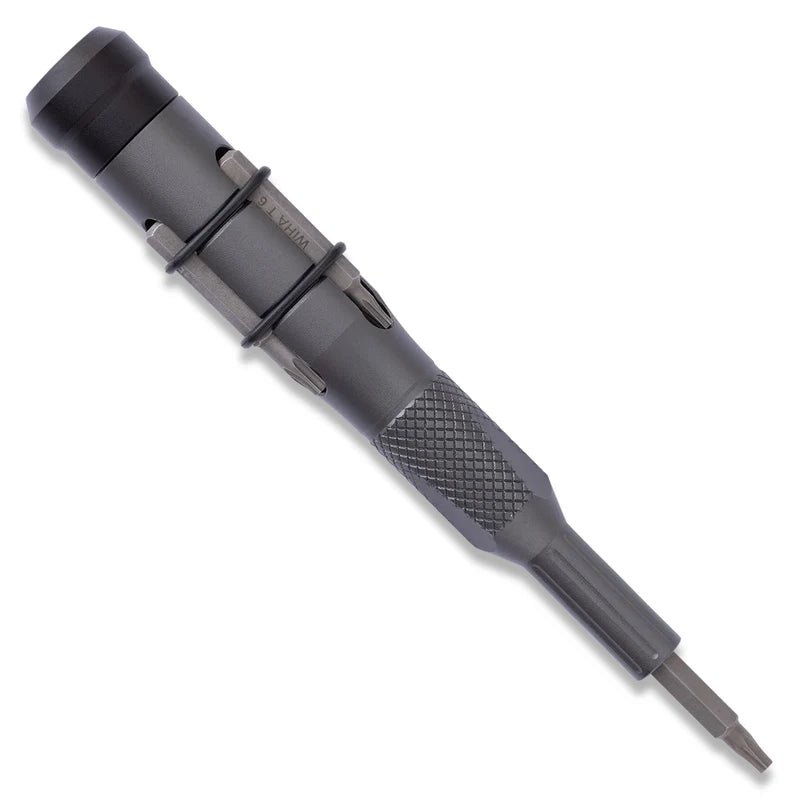
A small driver set earns its place in the kit. The Knafs Bit Driver with Wiha Torx bits carries T6, T8, and T10 bits in magnetic channels on the outside, so you can tighten knife hardware or field-repair a loose fitting without digging through a pouch. For deeper guidance on picking dependable equipment, our guide on how to choose reliable gear for first responders covers the selection side in detail.
What Belongs in the Kit and What Doesn't
Keep the kit lean. Every item you add is one more thing to inspect.
Include: water and filtration, non-perishable food, a first-aid kit, lighting, a power source, a radio, a multi-tool, fire starters, and weather-appropriate layers.
Leave out: gear you don't know how to use, duplicate tools, and anything with a service life you can't track. Practice with what you pack.
A Survival Gear List Organized by Inspection Interval
Not every item needs the same attention. Group your survival gear list by how often it needs checking, and the routine stops feeling overwhelming. The unique angle here is pass/fail criteria: every check should end with a clear decision to keep, service, or replace.
| Interval | Items to Check | What You're Looking For | Pass/Fail Criteria |
|---|---|---|---|
| Daily or pre-trip | Flashlight, radio, water carried, knife | Power, function, leaks | Device powers on and holds under load; no leaks; blade locks |
| Monthly | Flashlights, radios, batteries, water supply | Power, function, leaks | All devices function; no corrosion; water containers sealed |
| Quarterly | First-aid kit, food stores, fire starters | Expiration dates, moisture, wear | No expired items; packaging intact; striker throws sparks |
| Annually | Life jackets, beacons, immersion suits, shelters | Integrity, service intervals, damage | No tears or waterlogged foam; beacon passes self-test; seals intact |
| After every use | Knives, tools, filtration, packs | Cleaning, repair, replacement needs | Clean and dry; no cracks, rust, or fraying |
This split is the difference between a kit that gets maintained and one that gets ignored. A monthly pass takes minutes. The annual deep check is where you catch the expensive problems.
Replacement Criteria and Maintenance Records
A simple log turns scattered inspections into a repeatable routine. Record the date, item, condition, and action taken. Use clear pass/fail rules so the decision isn't a judgment call in the moment:
- Batteries: replace when they fail a load test or reach the manufacturer's service life, whichever comes first.
- Water and food: rotate before expiration; discard containers that leak, swell, or show cloudiness.
- First-aid supplies: replace expired medications and sterile items; restock anything used.
A written log can catch the items people forget: the battery swapped last month, the food rotated last quarter, the seal that failed silently. Without notes, you can't tell whether an item was checked or assumed.
How to Maintain Survival Gear Properly at Home: The Monthly Routine
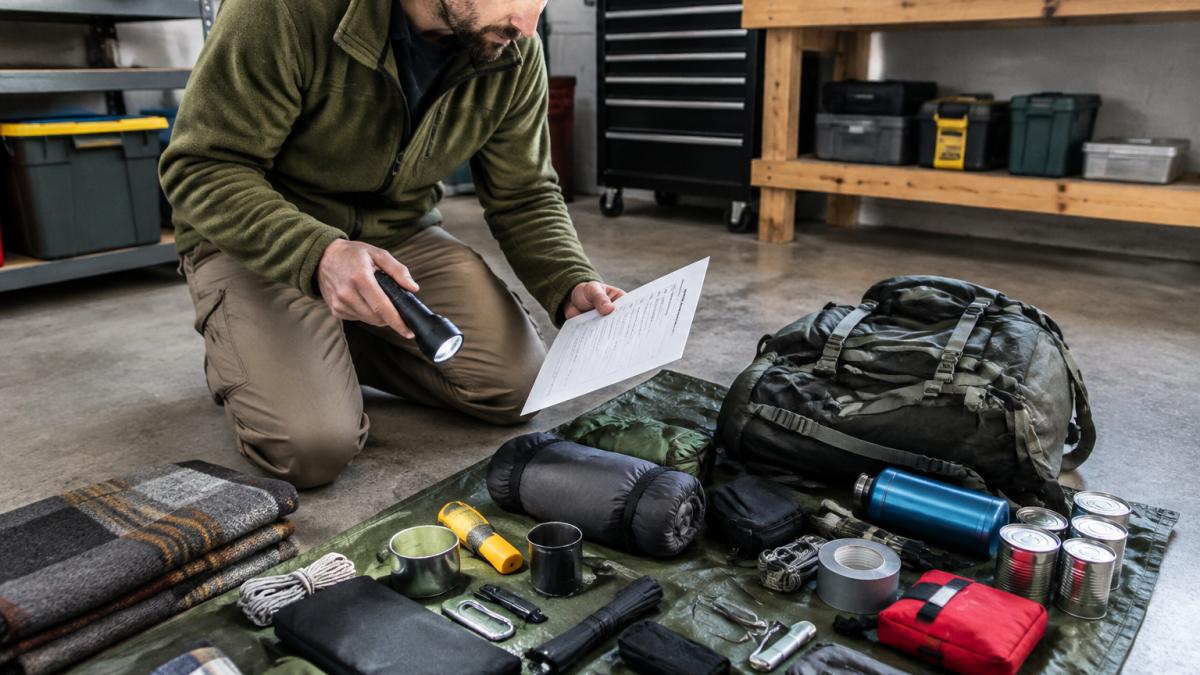
Here is the monthly routine we'd run on any kit. Set a recurring reminder and treat it like changing the oil.
Step 1: Lay Everything Out and Inspect
Empty the kit onto a clean surface. Check each item for cracks, rust, fraying, or crushed packaging. Run every flashlight and radio. Look for corrosion on contacts and terminals.
Step 2: Test, Clean, and Record
Test what can be tested. Clean what collects dirt. Then write it down: date, item, condition, and any replacement needed. A simple notebook or spreadsheet works.
A common mistake is skipping the record. Without notes, you can't tell whether a battery was swapped last month or two years ago. Maintenance records are what turn guesswork into replacement criteria.
Checking Life Jackets, Flotation Devices, and Immersion Suits
Flotation gear is the item people trust blindly and check least. A life jacket that has sat in a damp locker can lose effectiveness without looking obviously broken.
Run this check each season:
- Inspect the shell for tears, fading, and mildew
- Check straps, buckles, and zippers for stiffness or cracks
- Look for waterlogged foam or a compressed fit
Store flotation devices loose and dry, never compressed under heavy gear. An immersion suit needs the same treatment plus a check of seals and zippers. If a device shows damage or fails a test, replace it.
Testing Radios, Emergency Beacons, and Power Systems
Electronics fail quietly. A radio with a dead battery looks identical to a working one until you need it. Test every power-dependent item on a schedule, not on a hunch.
Battery and Power-System Testing
Test batteries under load, not just at rest. A voltmeter reading can look fine while the battery sags the moment a device draws power.
Follow this routine:
- Power on every device and confirm full function
- Check battery dates and swap anything past its service life
- Inspect terminals and contacts for corrosion
- Test chargers, cables, and solar panels in real light
- Store spare batteries in the original packaging, away from metal
An emergency beacon such as an EPIRB or personal locator beacon follows the manufacturer's test procedure and registration requirements. For power systems, browse off-grid power options when a cell or panel needs replacing, and check flashlight options that run on the same batteries so your spares serve more than one device.
Water, Food, and Medical Supplies: Expiration Dates and Replacement Criteria
Consumables are where kits quietly expire. Water, food, and medical supplies all have shelf lives, and rotation is the only thing that keeps them usable.
Check these on a quarterly pass:
- Water: replace stored water on the manufacturer's schedule and check containers for leaks or cloudiness
- Filtration: confirm the filter still flows and hasn't been damaged by freezing
- Food: rotate non-perishable food before expiration and inspect packaging for swelling or pests
When first-aid supplies expire, restock rather than ration. Browse first aid supplies to replace expired items and refill the kit in one pass. Write the new expiration date on the record sheet so the next check is quick.
Storage, Cleaning, and Corrosion Prevention by Gear Type
Where and how you store gear decides how long it lasts. Heat, humidity, and moisture are the three enemies, and they work slowly. The fix is to control moisture at the container level, clean by material, and inspect for corrosion before it becomes structural.
Storage Conditions by Location
Different storage locations create different failure modes. Match your storage method to where the kit actually lives.
- Vehicle: temperature swings and condensation are the main threats. Use a rigid, sealed container and add desiccant. Avoid leaving electronics or batteries in direct sun. Check desiccant monthly in summer.
- Boat or damp locker: salt air and constant humidity accelerate corrosion on metal and mildew on fabric. Rinse metal tools with fresh water after exposure, dry fully, and oil. Store fabric loose, never compressed wet.
- Home closet or garage: concrete floors wick moisture. Keep containers on shelves or pallets, not directly on concrete. Avoid basements with standing humidity.
Cleaning and Care by Material
- Blades and metal tools: wipe down after use, dry fully, and apply a thin coat of oil to the blade and pivot. Check for rust at the pivot and along the edge; surface rust can be removed, but pitting or a compromised edge means replacement.
- Electronics: clean battery contacts with a dry cloth or contact cleaner, remove batteries for long storage, and check for corrosion at terminals. A device that powers on but drops under load has a battery or contact problem, not a display problem.
- Fabric and packs: brush off dirt, air-dry completely, and never store wet. Check seams, zippers, and straps for fraying. Mildew smell indicates moisture was trapped; clean and dry before returning to the kit.
- Metal hardware and fasteners: check for rust and treat early. A fastener that won't turn or a buckle that sticks is a failure point under stress.
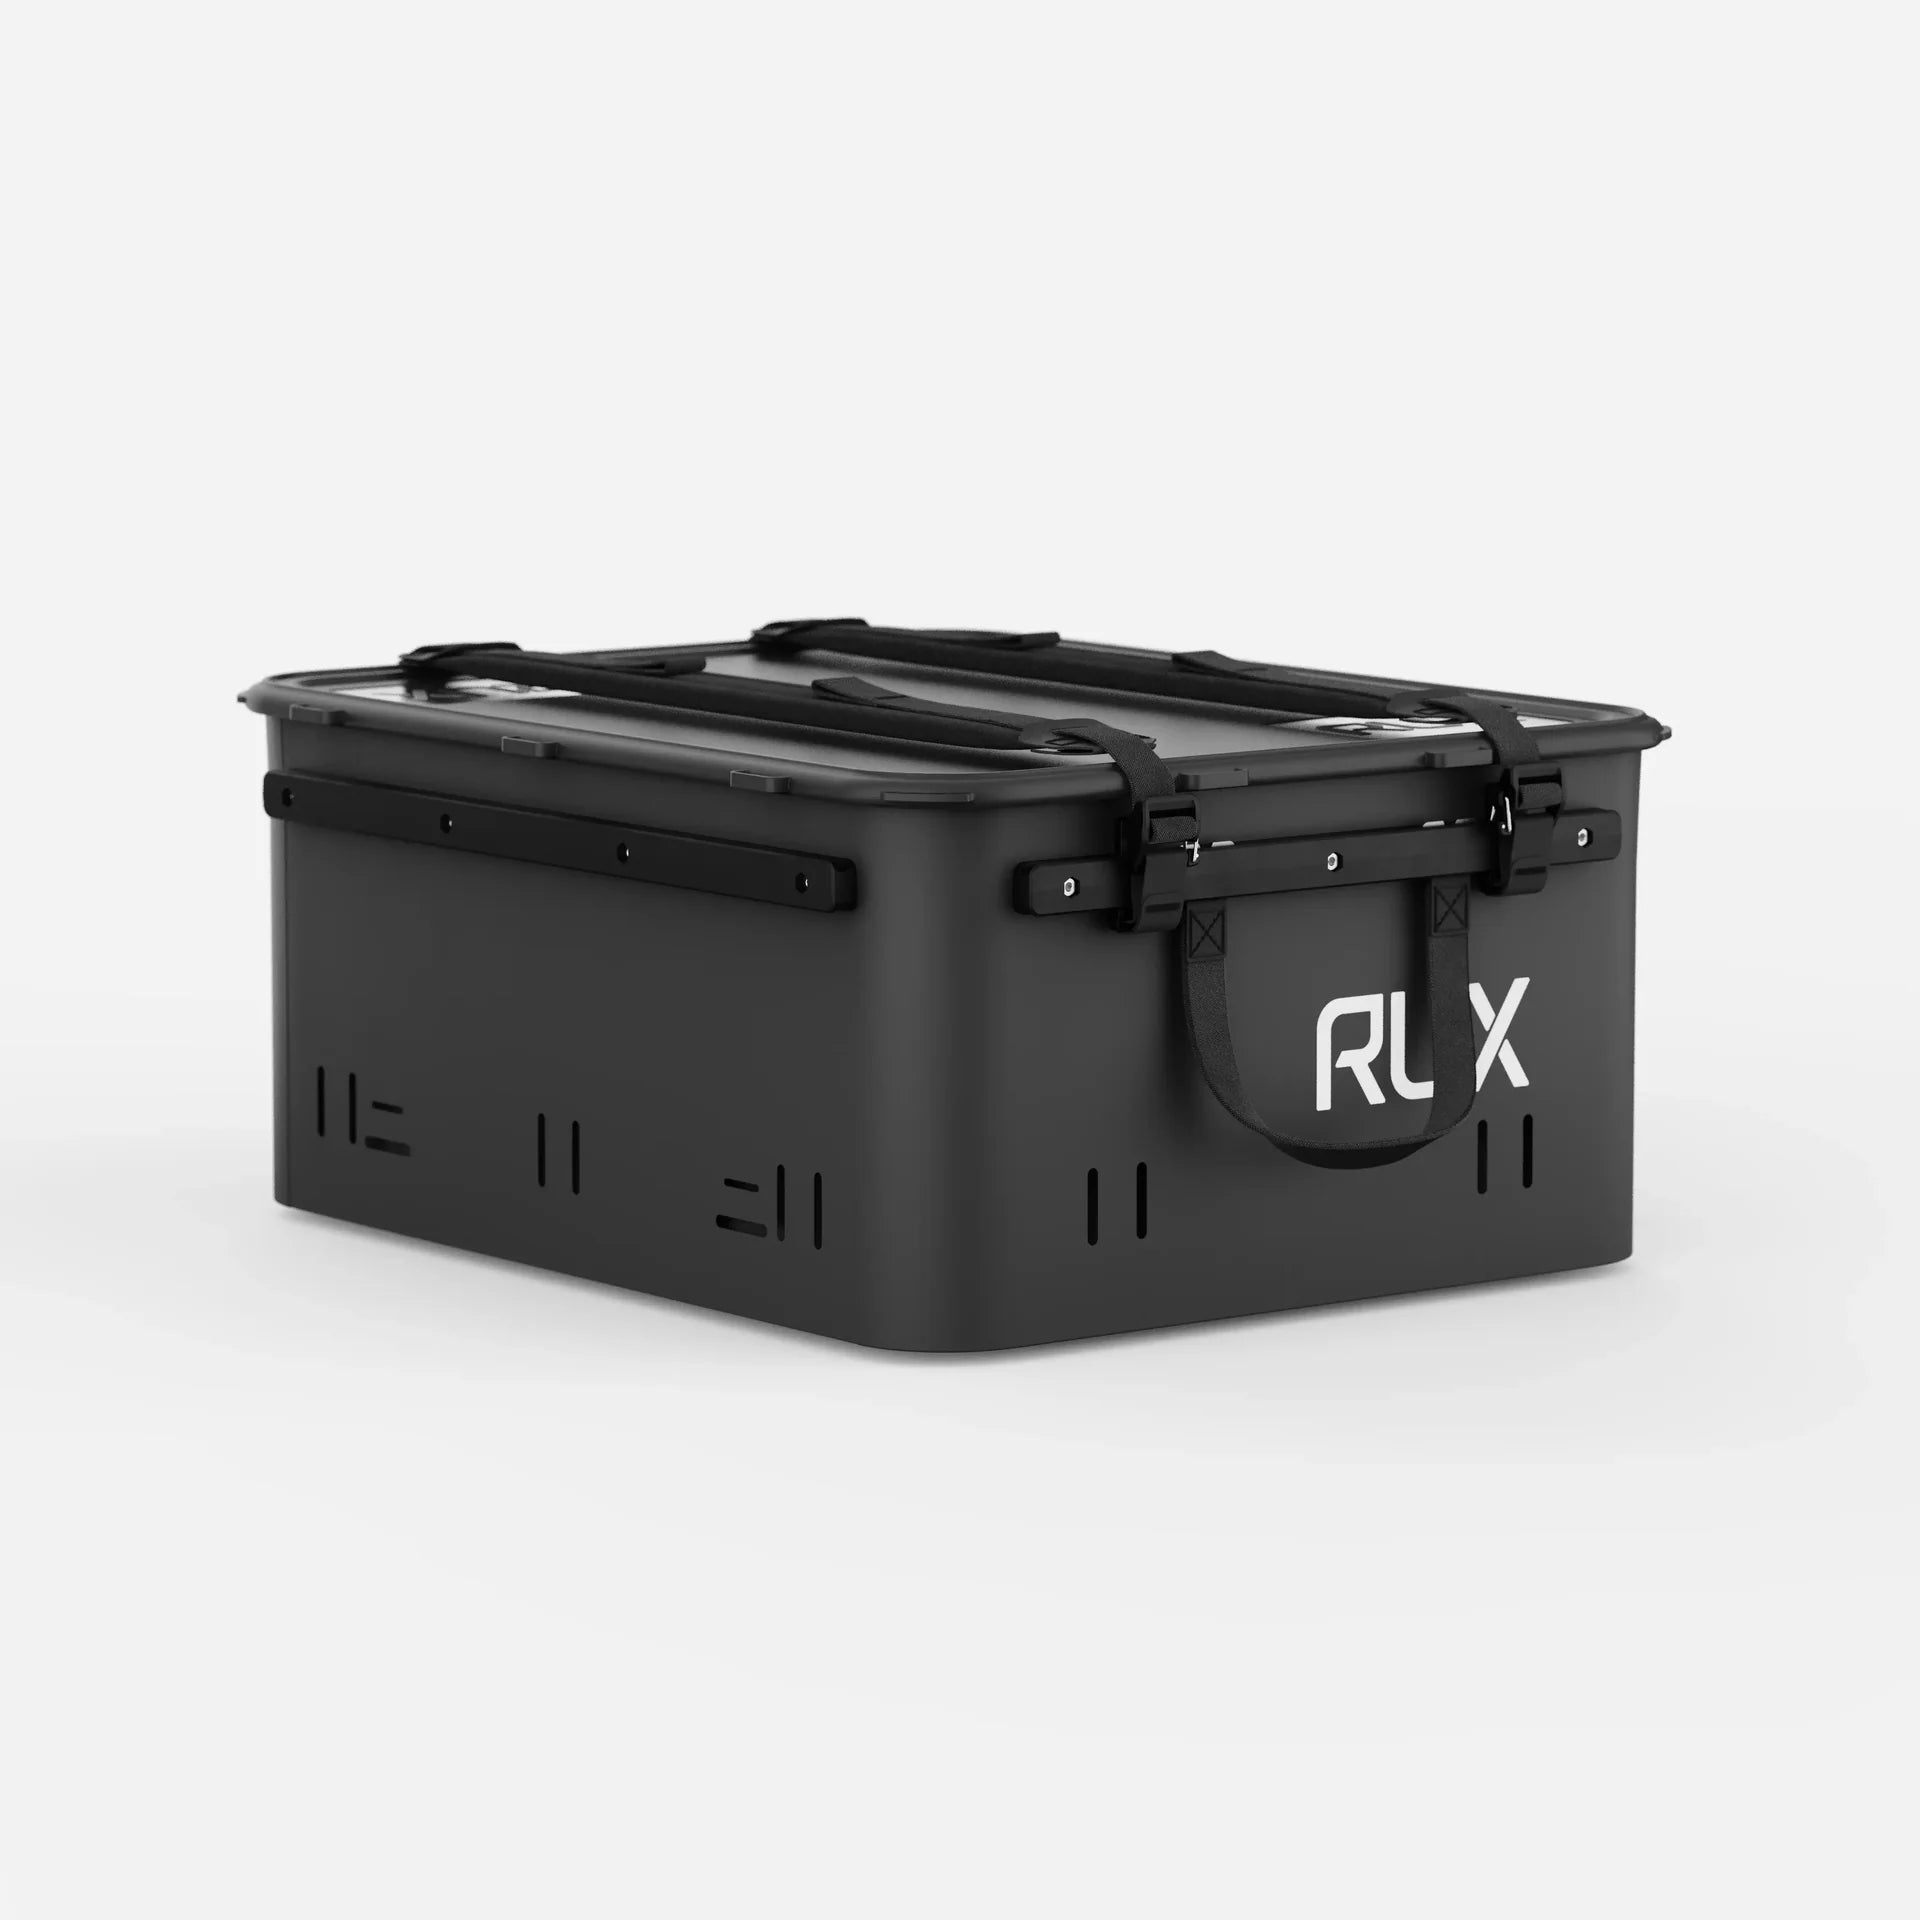
A sealed, durable container does a lot of the work. The RUX 40L Gear Box with press-seal lid keeps moisture and dirt away from gear that has to stay dry and ready. Watch out: storing a wet pack or damp tool in a sealed box traps moisture and speeds corrosion, so dry everything before it goes in. Add desiccant packs to closed cases and replace them when they stop absorbing; a saturated desiccant pack does nothing.
Restocking Your Survival Gear Kit at Grayman Trading Company
A kit is only as good as its weakest, oldest item. The fix is simple: build a routine, keep records, and replace gear before it fails.
Maintaining survival gear is a habit, not a one-time task. Grayman Trading Company stocks field-tested outdoor, survival, and EDC gear, backed by direct brand partnerships with full warranties and fast U.S. shipping from Kansas.
Frequently Asked Questions
How often should you inspect survival gear?
Run a full inspection every three months and a quick visual check before each trip or season change. Batteries, water, and food get checked monthly because they degrade fastest. Gear that sat through summer heat or a cold winter needs a full teardown, not a glance. Write the inspection date on a card inside the kit so you never guess when it was last opened. Anything past its expiration date or showing wear and tear gets replaced, not patched.
How do you store a survival kit at home so it stays ready?
Keep the survival gear kit in a cool, dry spot away from sunlight, garage floor moisture, and heat sources like water heaters. Use sealed containers or waterproof bags with desiccant packs to control humidity. Store the kit where you can grab it fast, not buried behind holiday boxes. Label every pouch and keep a printed inventory taped to the lid. Rotate stored water and non-perishable food on a first-in, first-out basis so nothing sits past its shelf life.
How should you clean and dry outdoor survival gear?
Clean gear after every trip, not before the next one. Wipe down tools and blades, brush dirt from zippers and buckles, and dry everything fully before it goes back in the bag. Moisture trapped in a packed kit causes corrosion and mildew. Wash fabric items per the manufacturer's instructions and air-dry them out of direct sun. For firearms in your kit, a proper cleaning kit like the Otis Universal Rifle Cleaning Kit ($46.19) keeps the bore and action free of fouling so the tool works when you need it.
How do you keep emergency supplies from expiring?
Track expiration dates on a single sheet and check it monthly. Bottled water follows its printed date. Rotate non-perishable food on the schedule printed on its packaging. First-aid supplies, especially sterile items and medications, follow their printed dates strictly. Replace anything expired rather than gambling on it. A simple calendar reminder tied to your survival gear list keeps the whole rotation on schedule.

